
Banana Bread Recipe: Everything You Need to Bake It Right
By Captain Cooking
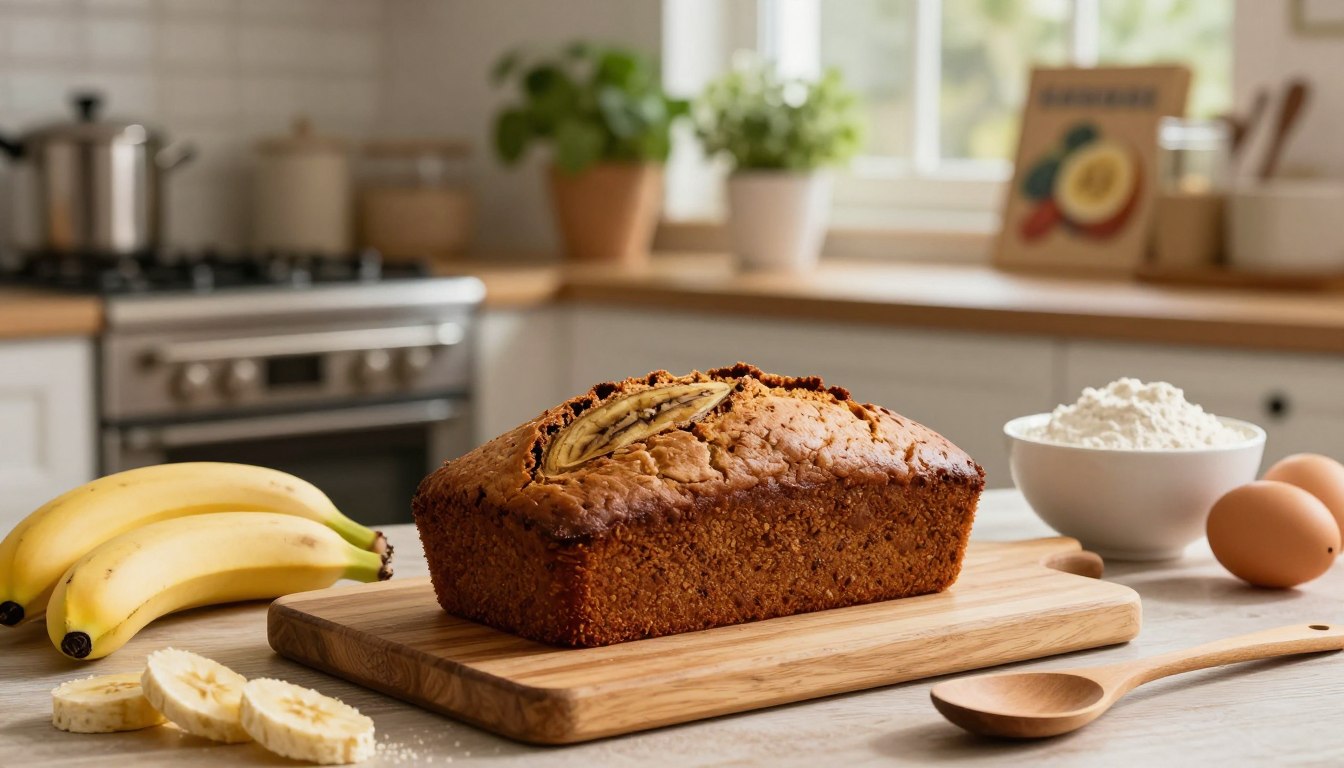
This banana bread recipe uses three techniques that consistently produce a moist, well-structured loaf: deeply overripe bananas, brown sugar, and Greek yogurt. Each plays a specific role in texture, flavor, and how long the loaf stays fresh — not just in how it tastes straight from the oven.
Everything comes together in one bowl with no electric mixer. Whether you have two overripe bananas or four, this recipe scales predictably and handles common substitutions without falling apart.
If your previous loaves came out dry, gummy, or flat, the ingredient breakdown below identifies exactly why — and what to do differently.
Key Takeaways
Why Ingredient Choice Defines Your Banana Bread Recipe
Most banana bread failures trace back to substitutions made without understanding what each ingredient actually does. Banana ripeness, fat type, and dairy choice all affect texture and how long the loaf stays moist after baking. This section explains the function behind each key component so you can make informed decisions — not just follow quantities blindly.
How Banana Ripeness Affects Moisture and Sweetness
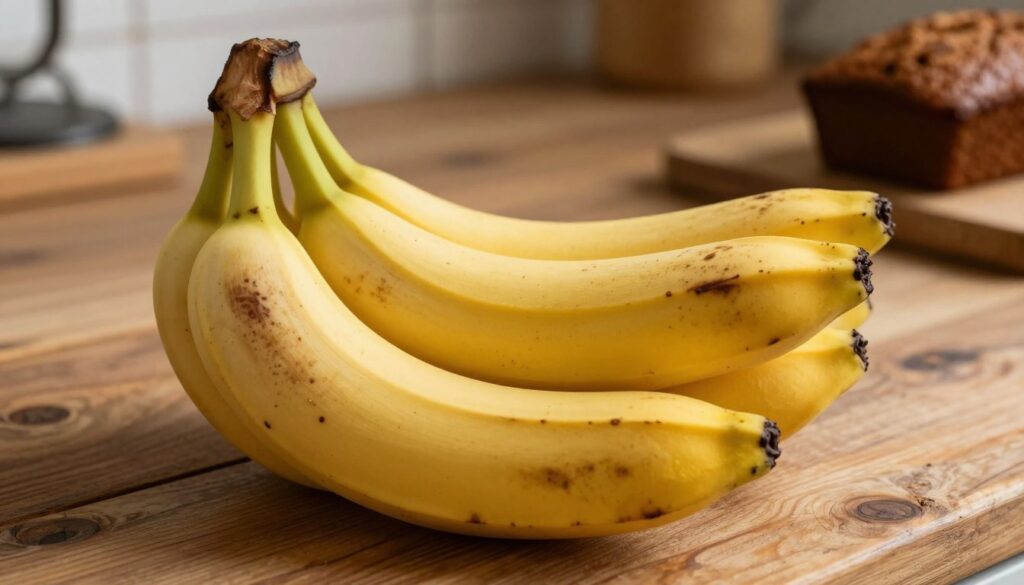
As bananas ripen, their starches convert to simple sugars and the cell walls break down. A heavily speckled or fully brown banana contains significantly more fructose than a yellow one — which translates directly to a sweeter, moister bake. Under-ripe bananas produce a noticeably drier, blander loaf regardless of what else you adjust.
If your bananas aren’t ripe enough, place them unpeeled on a baking sheet and roast at 300°F (150°C) for 15–20 minutes until the skins turn black. Let them cool completely before mashing — the pulp will closely mimic naturally overripe bananas in both sweetness and moisture level. This trick is reliable and takes less time than waiting several days on the counter.
Brown sugar contributes more than sweetness. Its molasses content is hygroscopic, meaning it attracts and holds moisture — which is why a loaf made with brown sugar stays noticeably softer for two to three days longer than one made with white sugar only. Dark brown sugar adds a slightly deeper, more caramel-forward flavor; light brown is more neutral. Either works well here.
Greek yogurt serves four functions in this recipe at once. Its acidity activates the baking soda for lift, its fat keeps the crumb tender, its protein adds enough structure to prevent a gummy center, and its water content slows moisture loss after baking. Sour cream is an exact 1:1 substitute. Avoid low-fat versions of either — the reduced fat noticeably affects tenderness.
- Acidity — activates baking soda for lift without a metallic aftertaste
- Fat — keeps the crumb tender and slows moisture loss during storage
- Protein — adds just enough structure to prevent a gummy, underbaked center
- Moisture retention — extends freshness by 1–2 days versus recipes made without dairy
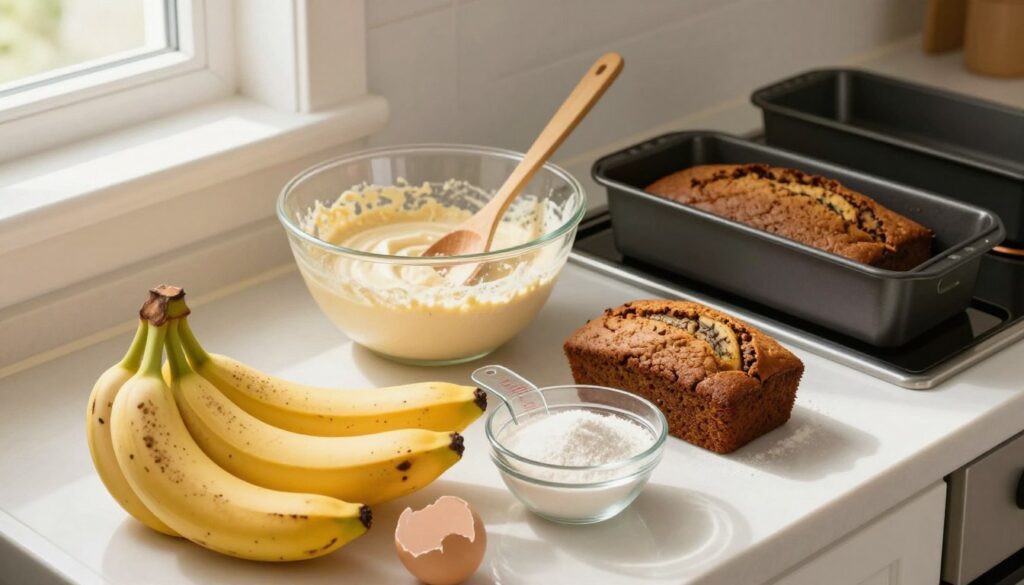
Mixing Method: Why One Bowl Works Better Than Two
The one-bowl method reduces the risk of overmixing — which is the most common cause of a tough, rubbery loaf. When flour goes directly into the already-combined wet ingredients and you stir only until it disappears, gluten development stays minimal. Two-bowl methods that involve pre-mixing dry ingredients tend to increase total mixing time once the batters are combined, and that extra stirring is what damages the crumb.
Stop stirring the moment no dry flour streaks remain. A few lumps in the batter are fine and bake out completely. If you’re folding in walnuts or chocolate chips, do it with two or three strokes at the very end — overworking the mix-ins drives them into the batter and disrupts the crumb structure. If you enjoy baking from scratch, our homemade brownies recipe uses a similar low-mix technique that’s worth trying next.
Banana Bread Recipe
How you measure flour has more impact on the final loaf than most bakers expect. Scooping directly from the bag compresses flour into the cup and can add 20–30% more than intended — which produces a dry, dense result. Spoon flour into the measuring cup instead, then level it off with a straight edge. This one habit corrects the most common texture complaint in any quick bread, including this banana bread recipe.
Banana Bread
Ingredients
- 2 –3 very ripe bananas mashed – 1 to 1.5 cups
- 1.25 –1.5 cups all-purpose flour
- 3/4 –1 teaspoon baking soda
- 1/4 –1 teaspoon salt
- 8 tablespoons butter melted
- 3/4 cup granulated sugar
- 1/4 cup brown sugar
- 2 large eggs room temperature
- 1/2 cup Greek yogurt or sour cream
- 1 teaspoon vanilla extract
- 3/4 teaspoon cinnamon
- 1/2 cup walnuts or pecans optional
Instructions
- Preheat oven to 175°C (350°F). Prepare a loaf pan.
- Mash bananas in a large bowl.
- Add melted butter + sugars and mix well.
- Add eggs, yogurt, and vanilla. Mix.
- Add baking soda, salt, cinnamon.
- Add flour gradually and mix gently (ma t overmixich).
- Add nuts (optional).
- Pour batter into pan.
- Bake 50–60 minutes until done.
- Cool 10 minutes, then remove and let cool completely.
Notes
- Use overripe bananas (brown) for best flavor
- Don’t overmix
- Tastes better the next day
- Keep in airtight container 2–3 days
A few ingredient notes that affect the outcome more than most recipes acknowledge:
- Bananas — the darker the peel, the better; fully black bananas produce the sweetest, moistest result
- Flour — all-purpose is optimal; bread flour adds too much chew, cake flour gives too little structure
- Baking soda — verify freshness before using; stale baking soda causes a flat, dense loaf that won’t spring back when pressed
- Butter — melt and cool it fully before adding to batter; hot butter partially cooks the eggs and breaks the emulsion
- Eggs — room temperature eggs incorporate more evenly into fat, producing a smoother batter and more uniform rise
- Vanilla extract — pure extract gives a cleaner finish; imitation works but is slightly harsher at the edges
- Walnuts or pecans — toast them dry in a skillet for 3–4 minutes before adding; raw nuts can turn soft and soggy inside the crumb during baking
Using a combination of granulated and brown sugar gives you the best structural and textural outcome. Granulated sugar promotes crust color and helps the loaf hold its shape, while brown sugar retains moisture in the crumb. Using only one type shifts the balance in a way that affects how the loaf bakes and how long it stays soft. The same attention to ratios applies in other baked goods — our chocolate ganache recipe is another good example of how small ingredient proportions drive big texture differences.
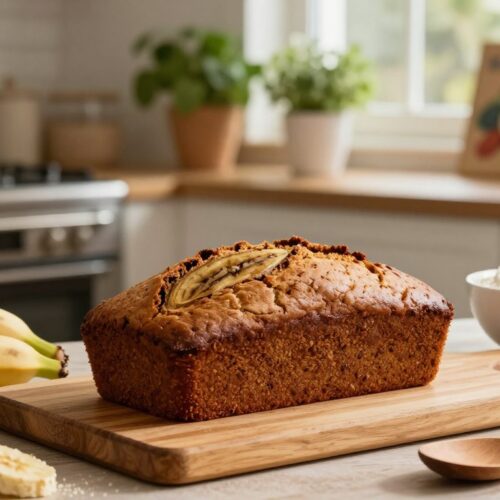
Pan size has a direct effect on bake time and loaf shape. A 9×5 inch pan produces a wider, flatter loaf that bakes through faster. An 8×4 inch pan gives you a taller loaf with a more pronounced crack along the top — the appearance most bakers associate with a well-made quick bread. If you’re using a glass or ceramic pan instead of metal, increase the bake time by 5–10 minutes; those materials conduct heat more slowly and the center takes longer to set.
Test for doneness with a toothpick inserted into the center — it should come out with a few moist crumbs but no wet batter clinging to it. An instant-read thermometer reading 200–205°F (93–96°C) in the center is the most accurate indicator. If the top browns before the center is done, tent the loaf loosely with foil and keep baking. This is the fix for the single most common issue home bakers encounter with this style of loaf. If you want to practice your scratch-baking skills further, the homemade applesauce recipe on this site pairs well with banana bread as a spread or flavor companion.
Final Thoughts
This banana bread recipe works because every ingredient has a clear function — and because the method keeps gluten development low while maximizing moisture retention. When you understand why each step matters, you stop guessing and start getting consistent results.
Prioritize ripeness, use the spoon-and-level method for flour, and stop mixing the moment the batter comes together. Those three habits will do more for your loaf than any single ingredient upgrade.
The loaf genuinely improves after resting overnight. Moisture redistributes from the center outward, the crumb firms slightly, and the slices hold together better. If you’re baking for guests, making it the evening before is a practical advantage — not a workaround.
Serve it plain, with salted butter, or lightly toasted with nut butter. Each option gives a different texture from the same loaf. That versatility is part of what makes this banana bread recipe worth keeping in regular rotation.
After one bake, you’ll know how the batter should look and feel at each stage without having to reference the recipe. That’s the real measure of a reliable method — one that teaches you something transferable, not just a list of quantities to follow.
Start with the overripe bananas on your counter. Everything covered here — ripeness, pan choice, mixing technique, doneness testing — applies from the first minute. This banana bread recipe is designed to work on the first attempt and get easier from there.